This blog will teach us how to embed a shoppable gallery on the Shopify website. Let us begin.
To embed a shoppable gallery in the Shopify store, we have two options:
Option 1. Install Shopify App
Let’s learn how to embed a shoppable gallery using the Tagshop Shopify app
Step 1: Install Tagshop Shopify App
- Install Tagshop on your Shopify Store. To find the app, Go to Shopify and search for ‘Tagshop’.
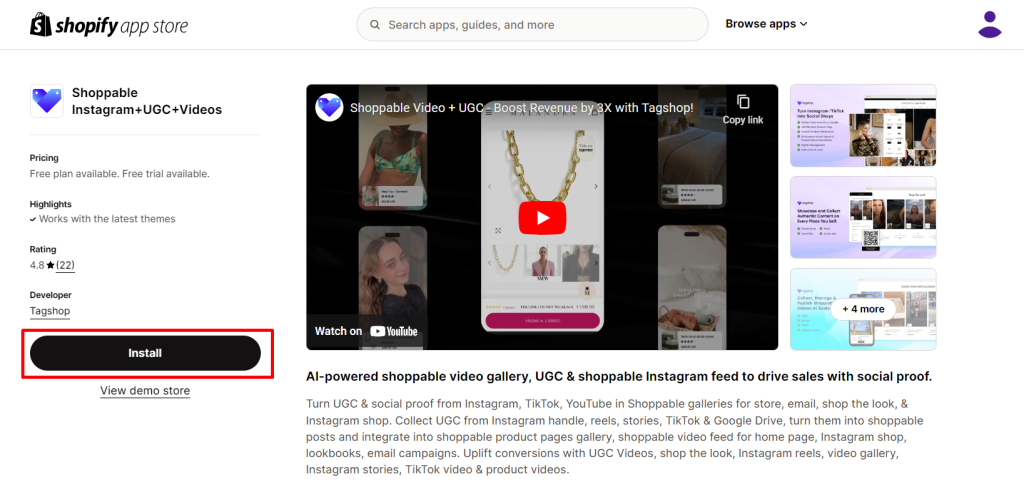
- Once the Tagshop app is installed, choose a plan. Tagshop offers a 14-day free trial- pick a plan that suits your business needs without using any credit card.
Step 2: Collect Content
- Tagshop gives you many options for collecting content, like YouTube, TikTok, and Instagram. Let us take the example of Instagram here to embed a shoppable gallery on a website.
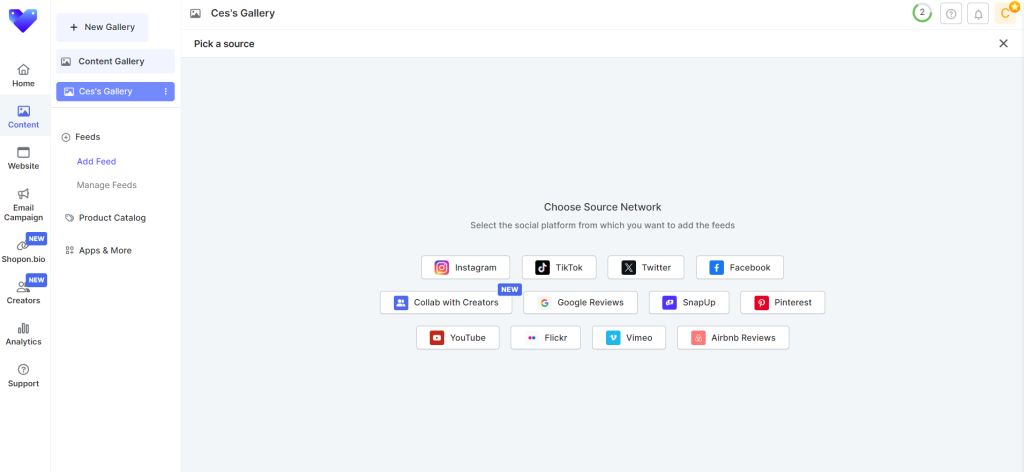
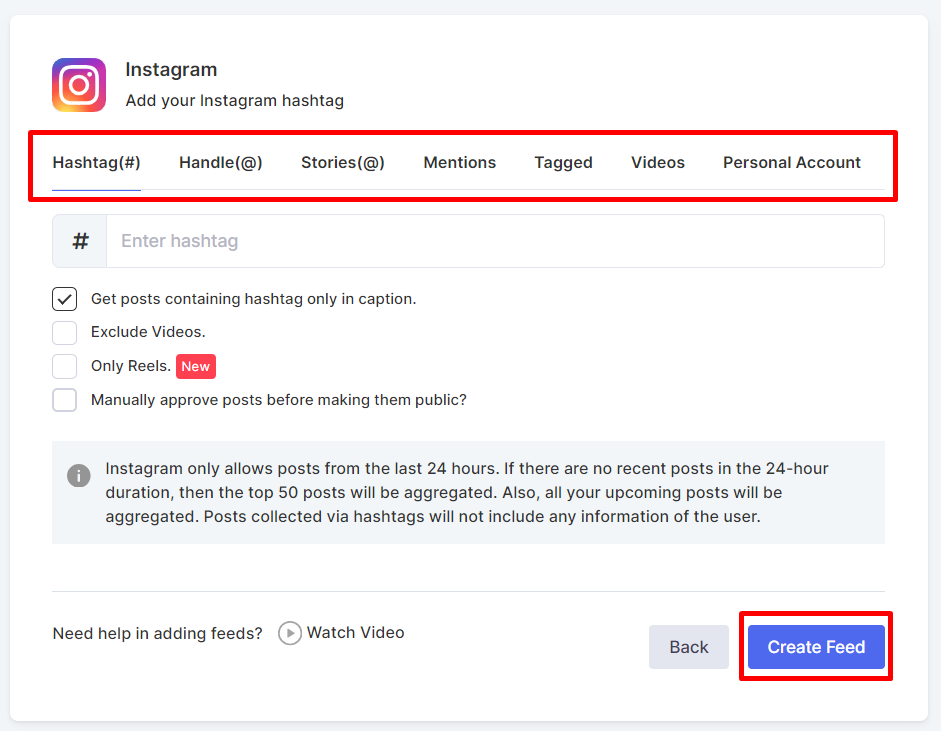
- Choose your feed type. Pick an option from, Hashtag, Stories, User Handle, Mentions. Once you are done, click on Create Feed.
Step 3: Sync The Product Catalog
Sync your product catalog with Tagshop. With Tagshop, you can upload your catalog from Shopify.
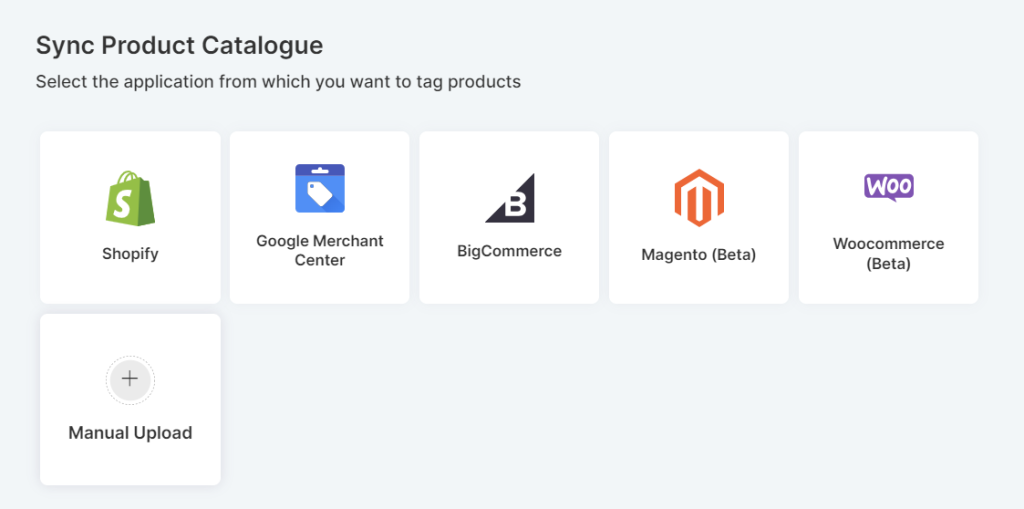
- You can also upload your catalog manually. Go to ‘Manual Upload’ to upload your catalog directly from your device.
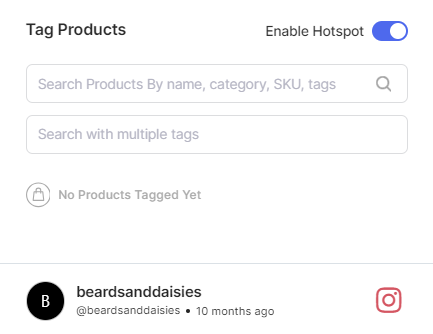
Step 4: Make It Shoppable
- Once you have uploaded a catalog, you can turn your posts shoppable. From the dashboard, go to Content > Tag Products under the post of your feed.
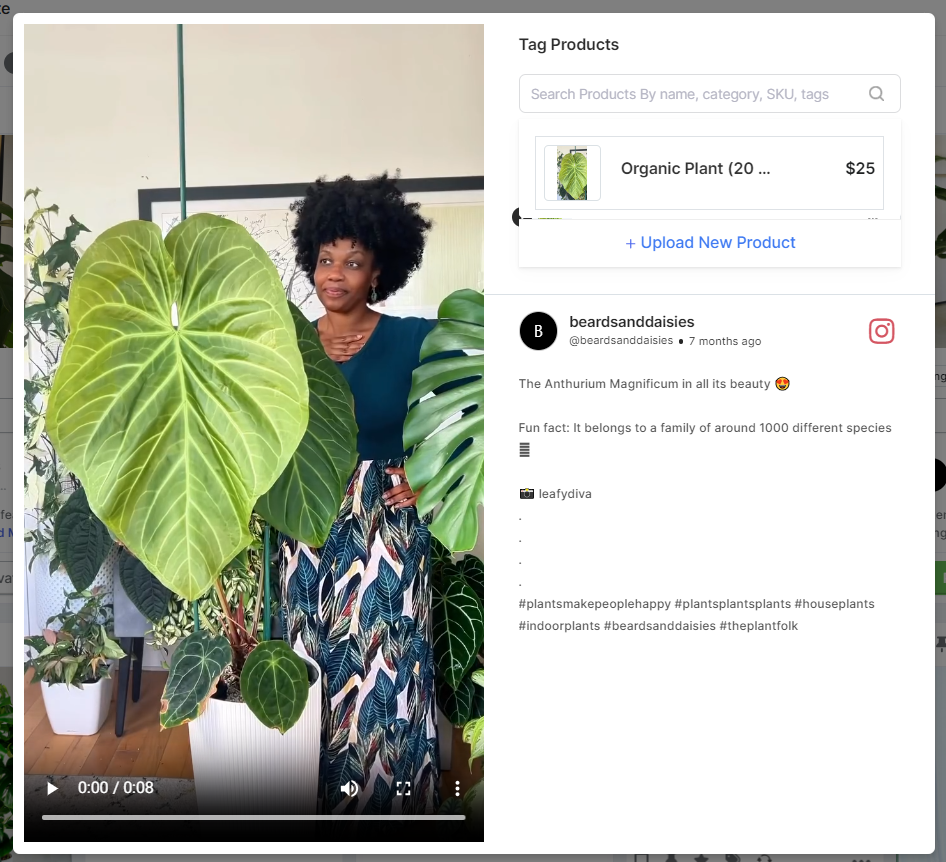
- Select your products by searching them via Product ID, category, or SKU. You can also use the Hotspot feature and add multiple product tags in a post. Turn all your posts into shoppable following the same process.
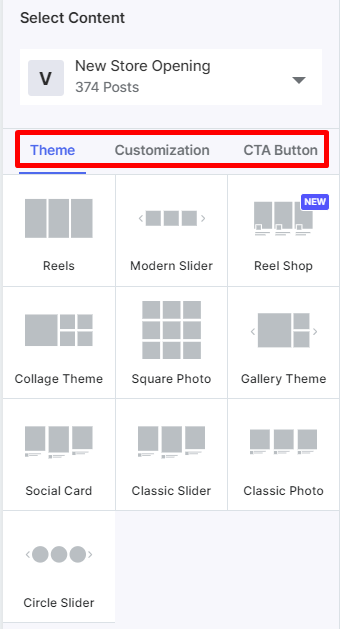
Step 5: Customize Your Shoppable Gallery
- To customize your Shoppable Gallery, go to the Website and navigate to options like themes, CTA buttons, and background changes. This will help you create a visually appealing and more actionable Shoppable Gallery.
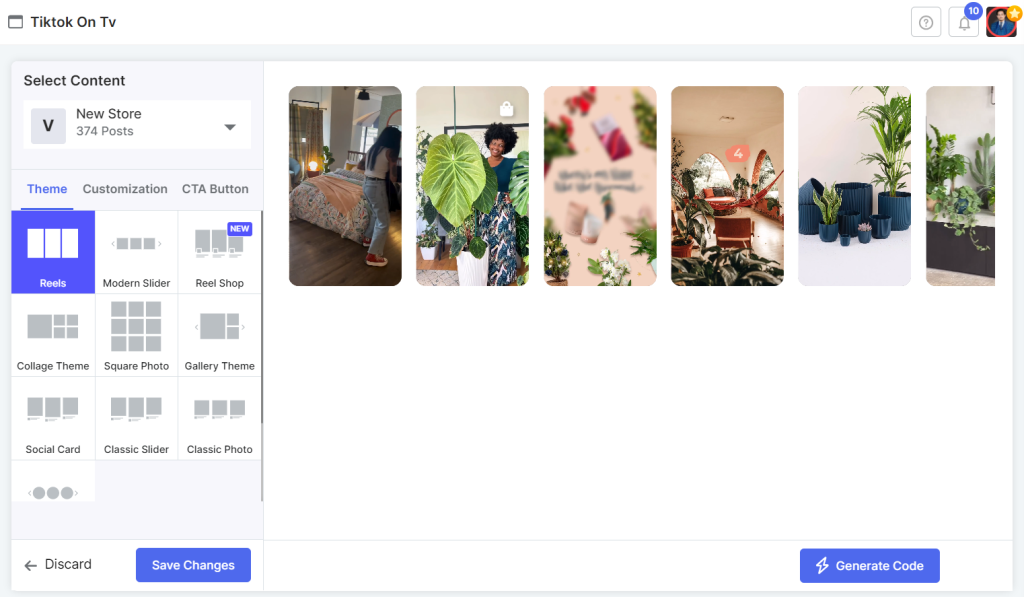
- Once you are satisfied with the look of your Shoppable gallery, click on “Save Changes’’.
Step 6: Publish Shoppable Gallery
- Your Shoppable Gallery is ready to be published on the Shopify store. Click on “Generate Code”
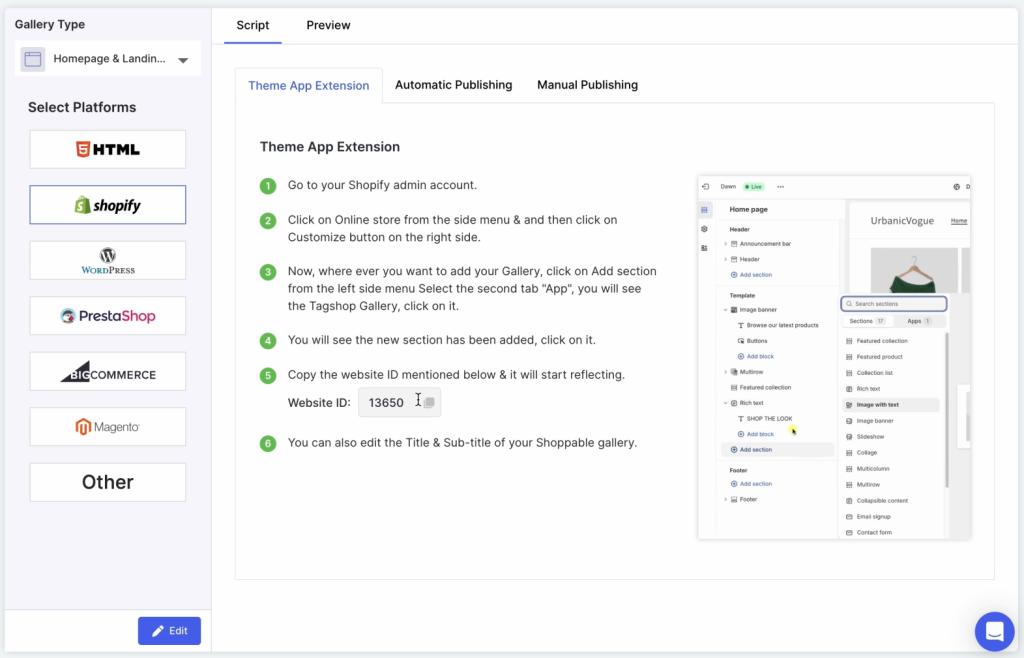
- Choose from the options Product Page and Homepages. Pick Homepage & Landing page / Product Pages from the gallery type dropdown.
- Either auto-publish the feed on the Shopify store by picking the placement options or manually publish it by copying the Embed Code by logging into your Shopify account.
Congratulations, your Shoppable gallery is now live on Shopify Store. With Tagshop, creating and embedding a Shoppable gallery is as easy as a breeze.
Option 2. Generate and Embed Code to Shopify Store
If you are not using the Tagshop Shopify App, generate a code to embed the Shoppable Gallery in your store.
You can follow above written steps to generate a feed, but while publishing it on Shopify, hit “Generate Code“.
From here select Shopify as your CMS platform and copy the code.
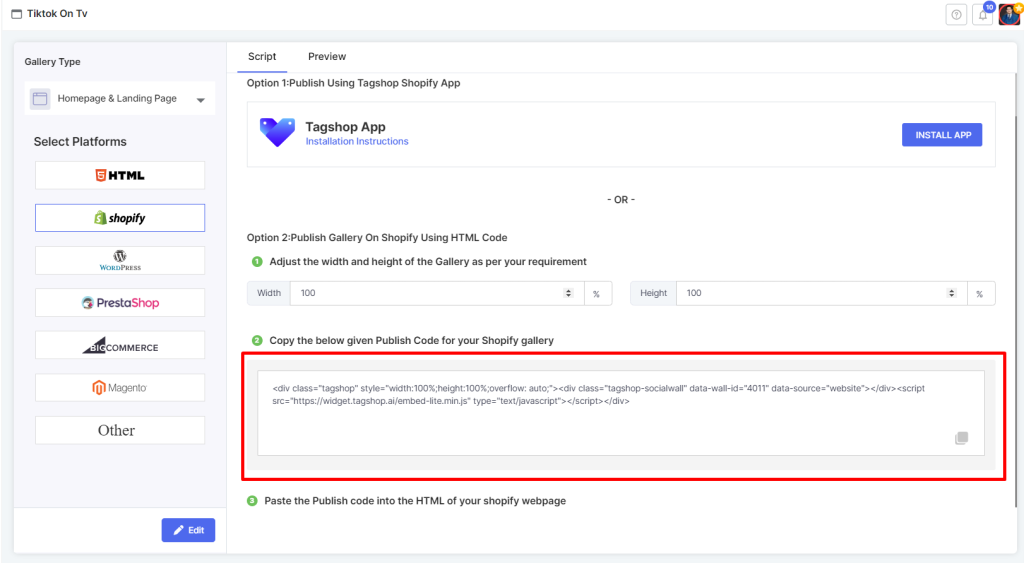
Paste this code on your Shopify store where you want to embed Shoppable Gallery.
Kudos! you


