Create AI UGC for your
Best AI UGC Video Generator
Generate high-quality UGC video ads with AI avatars that speak your script, and sell your products like real UGC creators. Just enter your script or product link, choose an AI avatar, and launch on Meta, TikTok, or YouTube.

AI UGC Explained
AI UGC, or AI-generated UGC, is content generated with artificial intelligence tools that looks like real user-created videos. This helps you create content faster and with less effort.
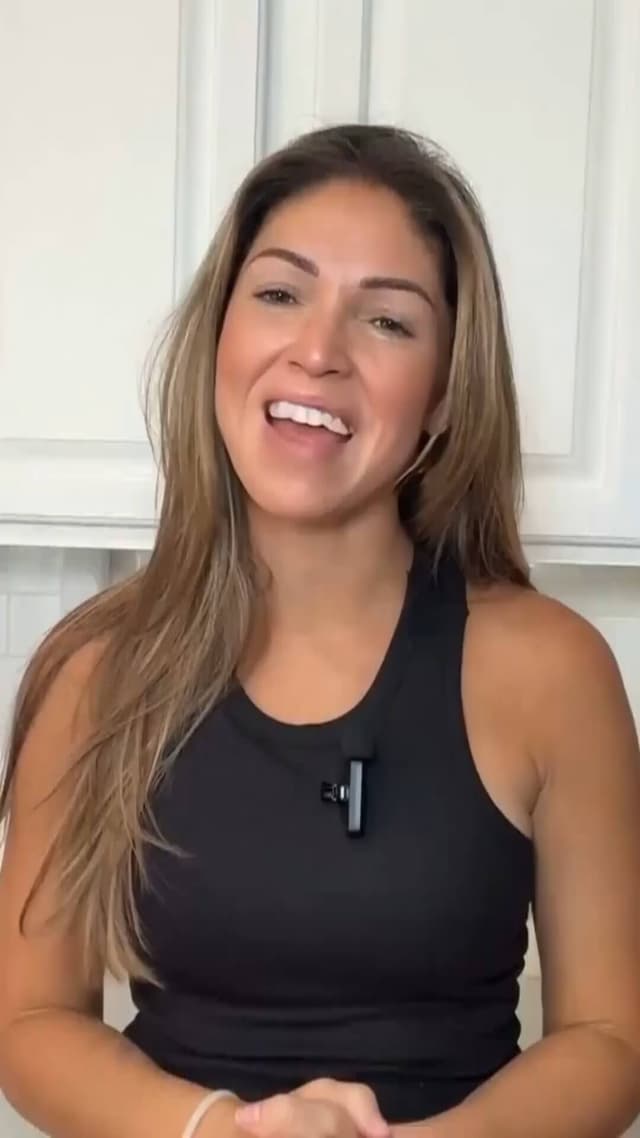
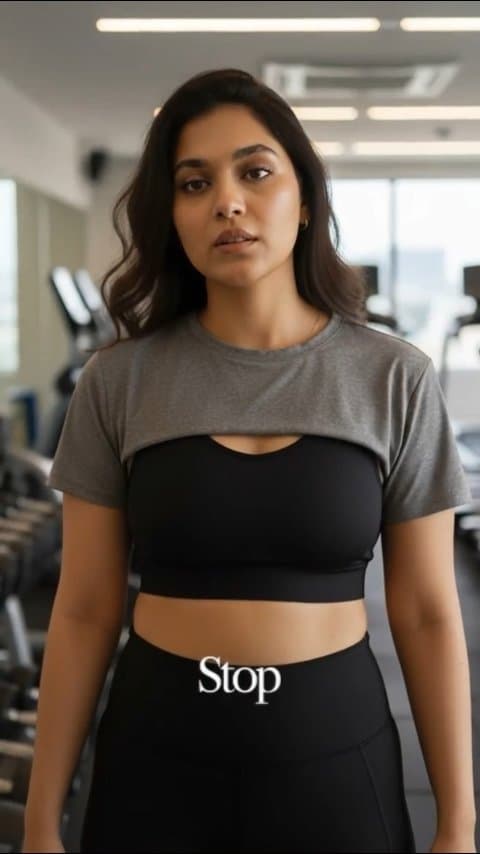
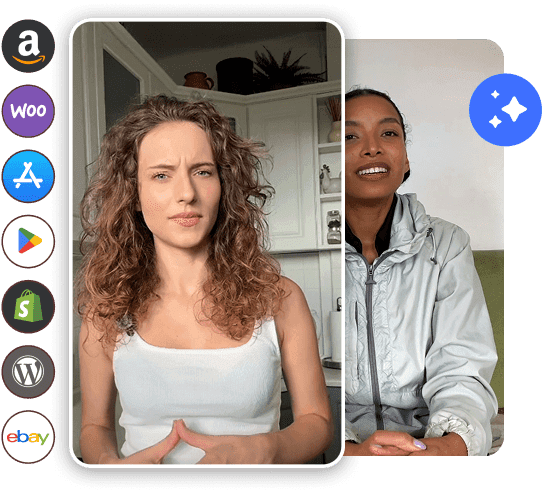
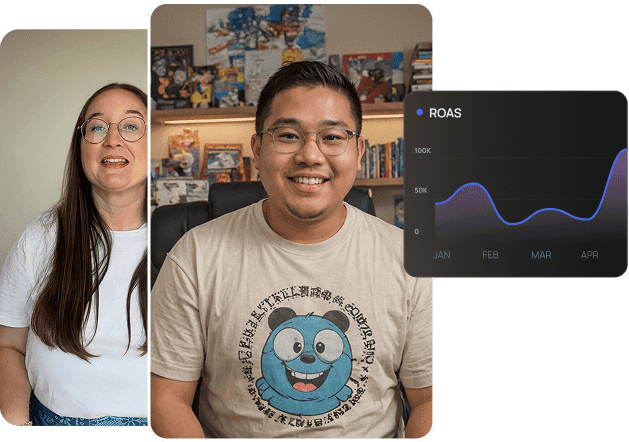
Examples of AI UGC Video Ads
AI-generated video ads built to grab attention and drive action
Trusted by top brands and teams creating high-converting UGC ads
Why You Should Try AI-Generated UGC
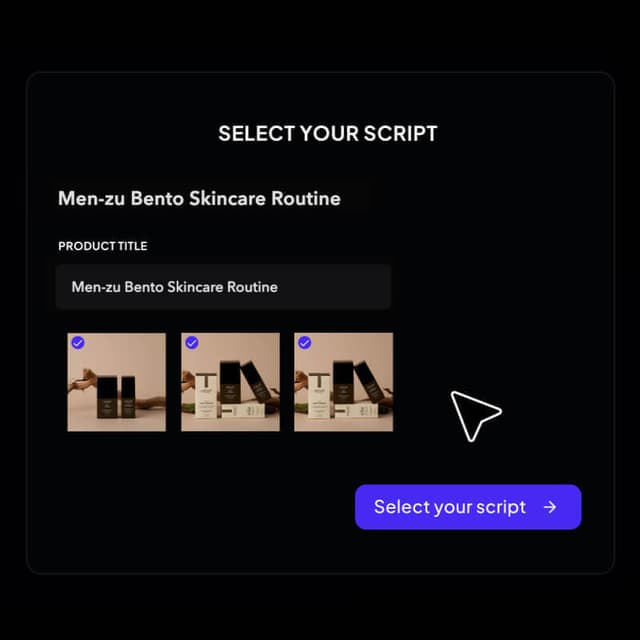
Steps to Make UGC Ads with Tagshop AI
Create high-converting UGC video ads AI in minutes - simple, fast, and effective.
Start Creating AI UGC Video Ads with Tagshop AI
Create scroll-stopping UGC-style video ads in minutes - no creators or editing needed.
No Credit Card Required
Perfect AI UGC Generator for All Industries
High-Converting AI UGC for Ads
- Performance Marketer
- Brand Manager
- Marketing Agency Owner
- Growth Marketer

AI UGC for Social Media
- Social Media Manager
- Content Creator
- Community Manager
- Startup Founder
Boost Product Sales with AI UGC
- Ecommerce Manager
- Brand Owner
- Content Strategist
- Dropshipper
Simplify Complex Products with Human-Style Videos
- Product Marketing Manager
- SaaS Founder
- Customer Success Manager
- Sales Executive
All the AI Features You Need to Create UGC Ads
Unlock every tool you need to create high-performing UGC ads AI. Designed for speed, scale, and performance.
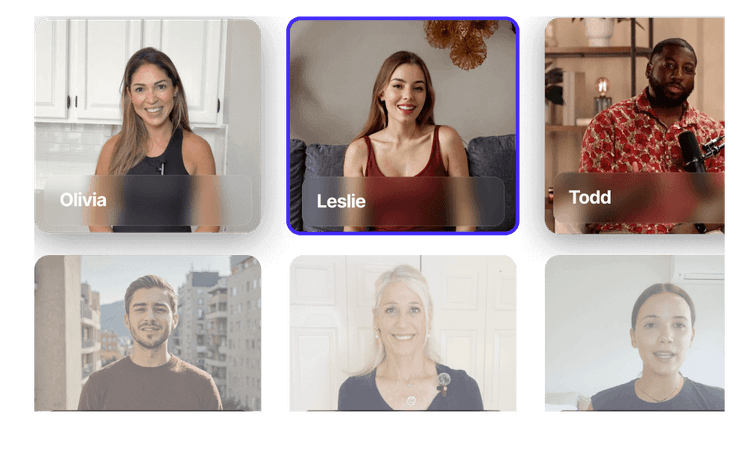
300+ AI Avatars
AI Product Shots
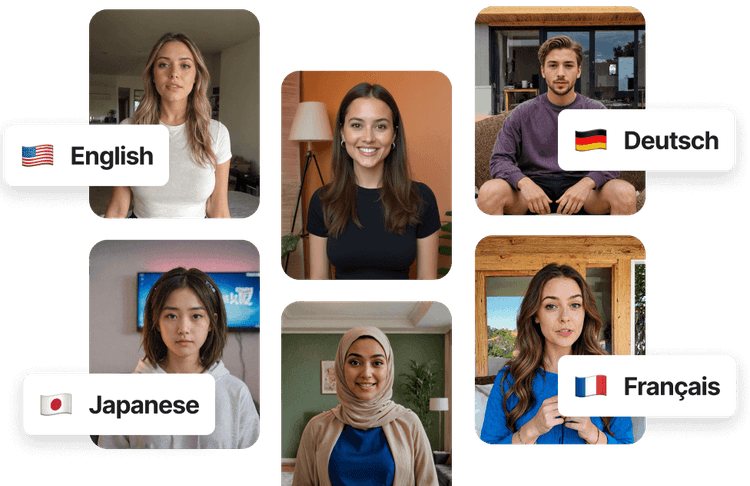
75+ Languages

Add Gestures & Emotions
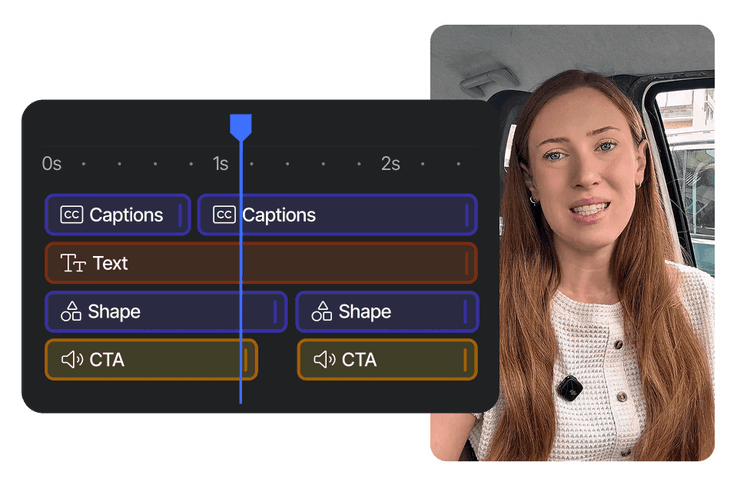
Built-in Video Editor
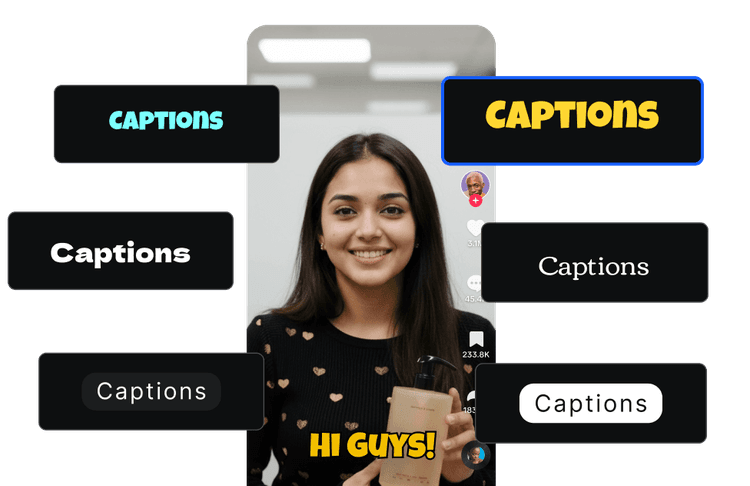
Auto Captions
Scale Your UGC Ads Effortlessly
Turn your ideas into high-performing UGC-style video ads without creators, delays, or high costs.
No Credit Card Required
Let's Compare AI UGC with Traditional UGC Creation
See how AI-powered UGC stacks up against traditional creation - faster production, lower costs, and scalable content without the hassle of sourcing creators.
Feature
- Content Creation Speed
- Turnaround Time
- Cost Efficiency
- Scalability
- Brand Control
- Customization
- Consistency
- Analytics Integration
- A/B Testing Capabilities
- Risk of Off-Brand Content
- Emotional Authenticity
AI UGC
- Instant, real-time
- Minutes
- Low (no creator fees)
- Unlimited content generation
- Full control over tone, style, visuals
- Highly customizable (product, audience)
- Always on-brand
- Built-in performance insights
- Instant variations for testing
- None
- Simulated (can be tailored)
Traditional UGC Creation
- Days to weeks (creator coordination)
- Often days or more
- High (creator payments, agency fees)
- Limited by human resources
- Variable—depends on creator interpretation
- Limited to creator’s own voice/style
- Inconsistent tone/quality across creators
- Often requires 3rd-party tracking tools
- Limited & slower iteration process
- High (creators may miss brand messaging)
- Real (but not always relatable or relevant)
Why Brands Love Tagshop AI for UGC Video Ads

300+ AI UGC Actors

75+ Languages

24/7 Customer Support
")
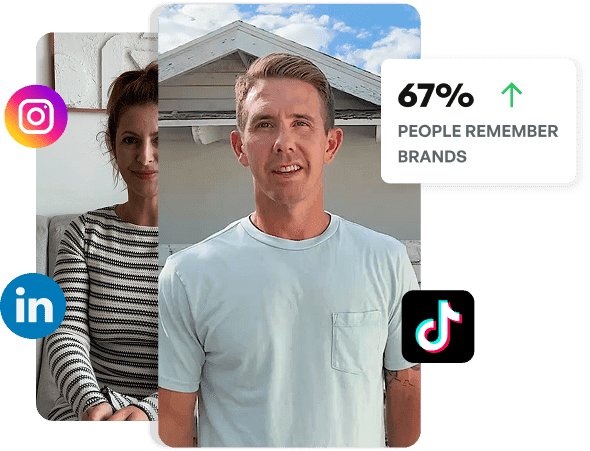
Platform-Ready Formats (Meta, TikTok, YouTube)

Super-Fast Rendering & Export
")
Full Brand Customisation (colours, fonts, tone)
Loved by Brands Worldwide
Related tools
Explore all the related AI Editing Tools by Tagshop
FAQs About the AI UGC
Know all about Tagshop with these frequently asked questions here.

Need Help in AI UGC Ads Creation?
Tagshop AI handles everything - from writing scripts to producing scroll-stopping AI UGC video ads that drive results.